🗒 Introduction.
Note:
Here I Will write a step-to-step of how setup Hyprland. Why? because I hate to watch video about how to do something. I just like to read and my own thoughts. So, this will be my written guide in case I need.
📖 Guide:
Setting Up Arch.
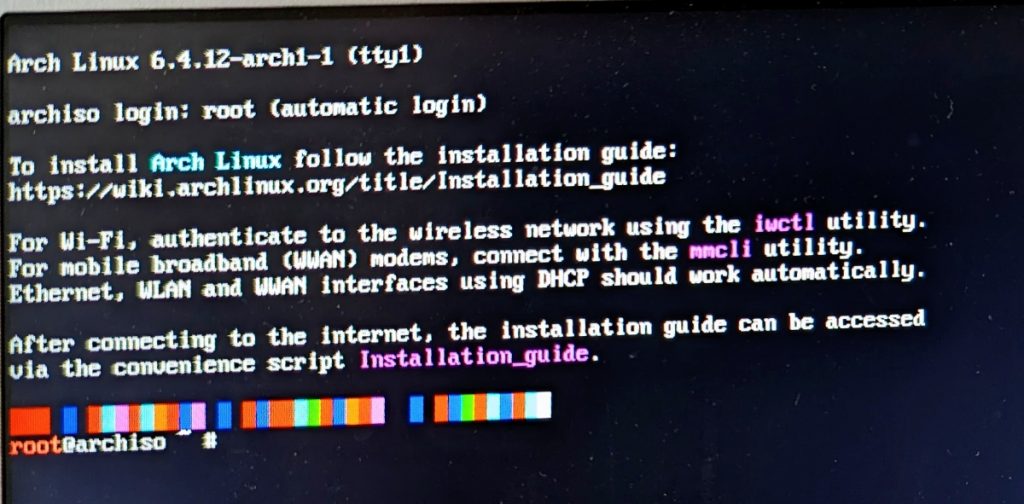
After booting in the pen-drive with the Arch ISO, y'all be in this screen.
NOTE
If you are using a Ethernet cable, you don't need to do this.
📶 Arch network.
If you are using a laptop you need to connect to a Wi-fi using the iwctl command. Type this command and hit enter:
root@archiso# iwctlAnd now we are in the iwctl interface.

First we need to scan the networks nearby:
iwd# station wlan0 scanWARNING
If you are dumb and don't know the SSID of your network:
iwd# station wlan0 get-networksHere you get a list of networks around.
Now connect to your Wi-fi using:
iwd# station wlan0 connect (the SSID of your network.)After hit enter you need to type the passphrase, be careful because you can't see the digits.
To see if you are connected:
iwd# station wlan0 showIf worked you will see all the information about the network.
🔧 Installing The Arch Linux
After hit the:
$ archinstallYou get the installer script. Here, choose whatever you prefer.
NOTE
In the "Profile" section of the installer, I always choose desktop, never minimal, because my Dell potato don't boot for some reason when I choose that.
To proceed with this guide, in the "Profile" section, select "Hyprland".
💻 First Boot.
Now that the script and install is over, after a reboot you probably will get something like this:

📶 Hyprland network.
You can use the command:
$ nmtuiWhich have a beautiful UI and very intuitive.
But here if you want something more direct:
$ nmcli device wifi connect SSID password PASSPHRASEIf worked, you get a message saying that is connected.
📦 Installing package manager.
The package manager that I use is yay, which I think is the best. Choose one of your preference. In non-Arch based, I suggest Homebrew.
yay install:
git clone https://aur.archlinux.org/yay.git
cd yay
makepkg -si
Now, yay is installed.
🛠️ Hyprland script.
After the yay install, go back to the opt:
$ cd /opt/Now, if you don't have a Hyprland config (Probably) to start using and learn you can use the Sol Does Tech one, which I think is great for beginners.
First clone his repository:
$ sudo git clone https://github.com/soldoestech/hyprland.git
$ sudo chown -R USER:USER hyprland/
$ cd hyprland/
$ chmod +x set-hypr
$ ./set-hypr
Now the script will start.
Questions:
- Disable Wi-fi powersave?: Yes.
- Install the packages?: Yes.
- Copy the config files?: Yes.
- Install Starship shell?: Personal (Yes.)
- Install Asus ROG software support?: In my case (No.)
At this point your done installing the Hyprland!
NOTE
If you are interest in some configs, check my Dotfiles file.